
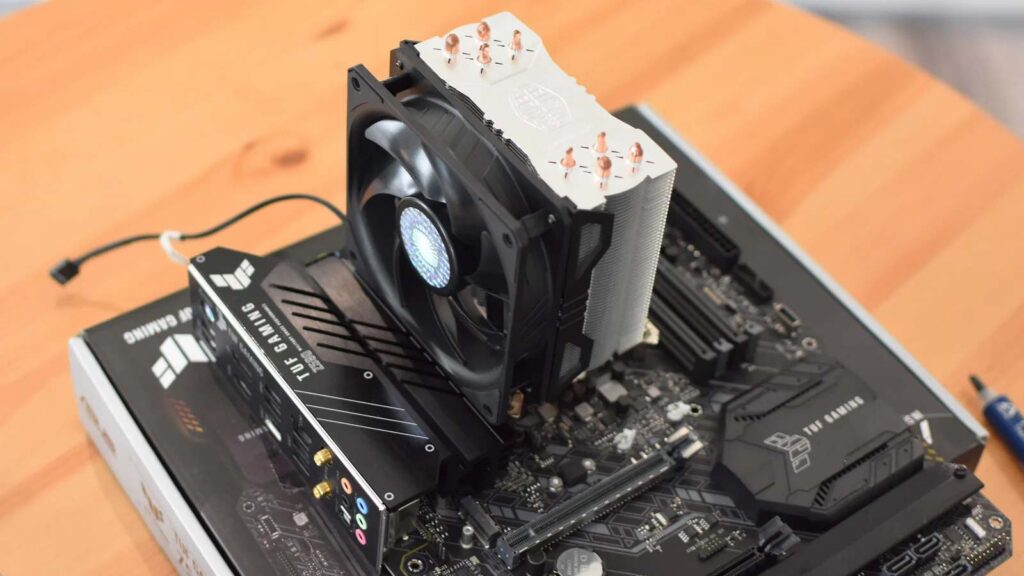
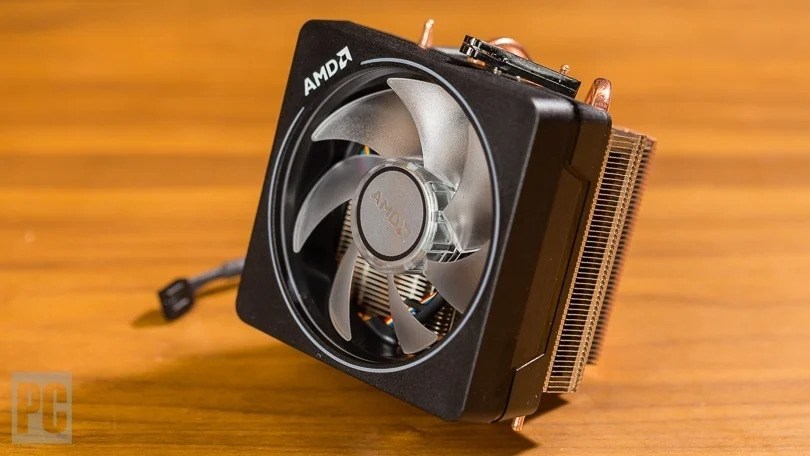
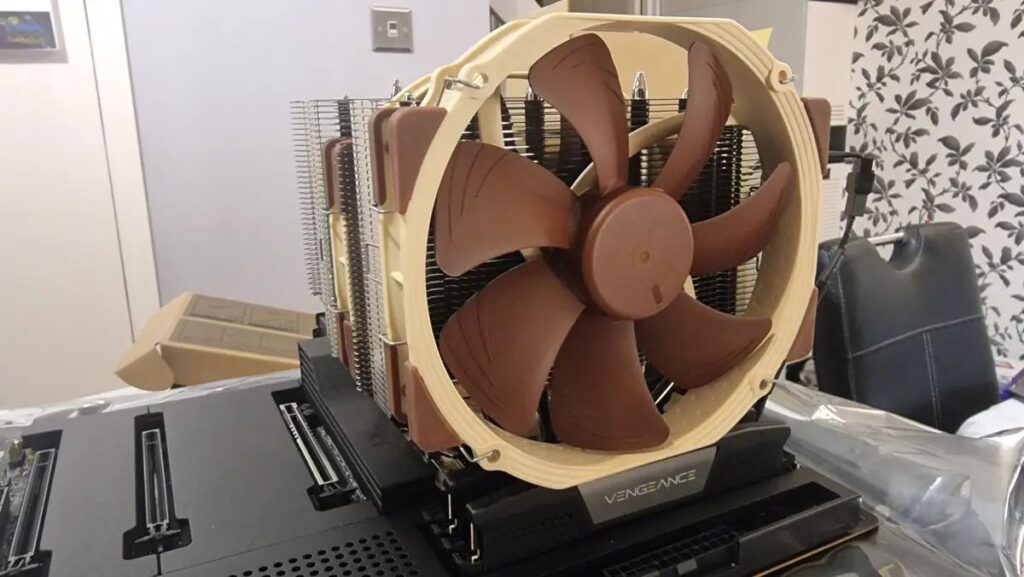
Installing a CPU cooler might seem simple, but getting the right tightness is crucial for your system’s performance and longevity.
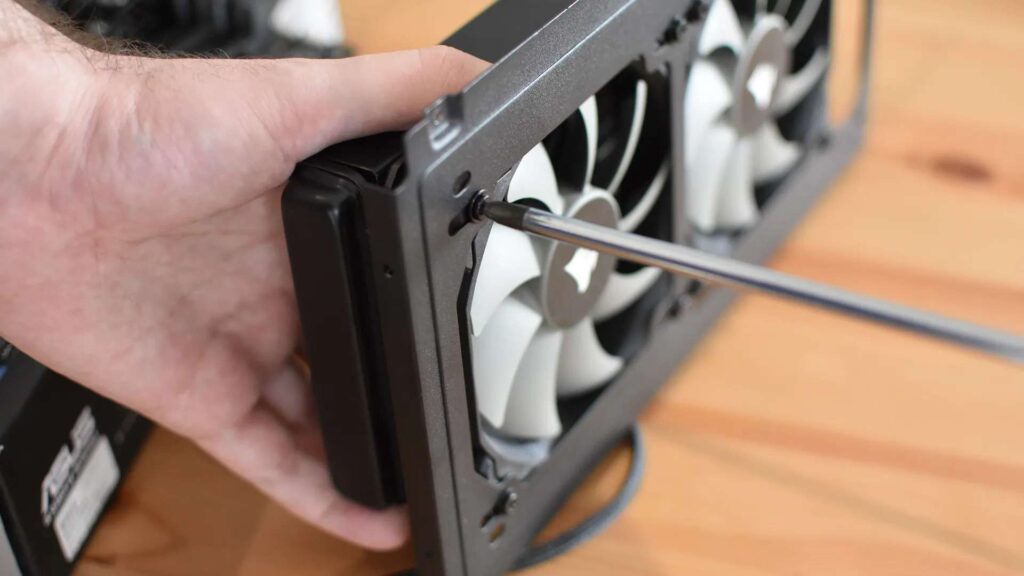
Tighten the CPU cooler evenly in a crisscross pattern until snug. Start hand-tight, then use a screwdriver for a moderate fit, adding a quarter turn. Avoid over-tightening to prevent damage while ensuring proper heatsink contact for effective cooling.
This guide will explain how tight your CPU cooler should be, common mistakes to avoid, and tips for safe installation. Whether using an air cooler, an AIO, or a stock cooler, we’ll help you get it right without risking your expensive components.
The Importance of Proper CPU Cooler Tension
The CPU (central processing unit) is your computer’s brain, handling countless operations per second. As it processes data, it generates heat, which must be effectively dissipated to maintain performance and prevent overheating.
The CPU cooler, comprising a heatsink and fan, serves this purpose by drawing heat away from the CPU and expelling it from the system.
Proper mounting of the CPU cooler ensures:
- Efficient Heat Transfer: Adequate pressure allows optimal contact between the CPU and the heatsink, facilitating effective heat dissipation.
- System Stability: Maintaining appropriate temperatures prevents thermal throttling, where the CPU reduces its speed to avoid overheating.
- Hardware Longevity: Consistent cooling extends the CPU’s and other components’ lifespan by preventing heat-induced wear and tear.
Risks of Incorrect Mounting Pressure
1. Motherboard Warping and Damage
Over-tightening the cooler can exert excessive pressure on the motherboard, causing it to bend or warp. This may lead to:
- Electrical failures due to PCB misalignment.
- Weakened motherboard structure, making future upgrades difficult.
- Socket or component damage, affecting overall system stability.
2. CPU Damage (Cracked Die or IHS)
If you apply too much pressure, it can:
- Crack the CPU die (especially in delidded CPUs without an IHS).
- Bend or damage the Integrated Heat Spreader (IHS).
- Impact thermal conductivity, reducing cooling efficiency.
AMD Ryzen and Intel CPUs are particularly susceptible if excessive force is applied unevenly.
3. Poor Thermal Performance and Overheating
If the cooler is too loose, it results in poor contact between the CPU and the heatsink, leading to:
- Inefficient heat dissipation, causing higher CPU temperatures.
- Increased risk of thermal throttling, slowing down your system.
- Frequent overheating shutdowns affect long-term CPU health.
4. Stripped Screws and Damaged Mounting Brackets
Over-tightening the mounting screws can:
- Strip screw threads, making removal and future maintenance difficult.
- Break mounting brackets, requiring costly replacements.
- Cause uneven cooler placement, leading to temperature inconsistencies.
This is especially common in AIO liquid coolers, where excessive pressure can crack the pump housing.
5. Thermal Paste Issues
Improper mounting pressure can negatively impact the thermal paste application:
- Over-tightening may squeeze out too much paste, leading to uneven heat transfer.
- Under-tightening may result in air gaps, reducing cooling efficiency.
Using a proper pea-sized amount of thermal paste and ensuring even screw tightening prevents these issues.
6. Noisy Operation and Vibrations
If the cooler is not tightened correctly, it can vibrate or shift over time, causing:
- Increased noise levels, especially in air coolers.
- Reduced cooling performance due to unstable heatsink contact.
- Potential damage to nearby components from prolonged movement.
Manufacturer Guidelines and Best Practices
While specific torque values are rarely provided, manufacturers offer general guidelines to ensure proper installation:
- Even Pressure Application: Tighten screws in a diagonal or crisscross pattern to distribute pressure evenly across the CPU surface.
- Hand-Tightening: Use your fingers to start screws and finish with a screwdriver until snug. Avoid using excessive force.
- Spring-Loaded Screws: Many coolers come with spring-loaded screws designed to apply optimal pressure without over-tightening.
For instance, Intel’s technical documentation advises that the IHS surface should have no more than 60 pounds of static force (266 Newtons).
While measuring this precisely without specialized tools is challenging, following the manufacturer’s installation instructions and using reasonable judgment can help achieve the correct mounting pressure.
Step-by-Step Installation Guide
Achieving the correct tension involves careful installation:
1. Preparation:
- Workspace: Ensure a clean, static-free environment.
- Tools: Gather necessary tools, typically a screwdriver compatible with your cooler’s screws.
2. Thermal Paste Application:
- Cleaning: If re-installing, clean old thermal paste from the CPU and heatsink with isopropyl alcohol.
- Application: Apply a small, pea-sized amount of thermal paste to the centre of the CPU. This ensures even spread when the heatsink is mounted.
3. Mounting the Cooler:
- Alignment: Position the heatsink over the CPU, aligning it with the mounting holes.
- Initial Placement: Gently place the cooler onto the CPU, allowing the thermal paste to spread naturally.
4. Securing the Cooler:
- Screw Engagement: Insert screws and turn them into a few threads by hand to ensure proper alignment.
- Even Tightening: Using a diagonal pattern, tighten each screw incrementally:
- Turn each screw a few rotations, then move to the diagonally opposite screw.
- Repeat until all screws are snug.
- Final Check: Ensure the cooler is secure, but avoid using excessive force. The heatsink should not move when gently nudged.
5. Post-Installation:
- Visual Inspection: Check for any motherboard bending or misalignment.
- Testing: Power on the system and monitor CPU temperatures to ensure proper installation.
Community Insights and Expert Opinions
1. Linus Tech Tips Forum
- Focus on even tightening rather than excessive force.
- Over-tightening is unlikely unless applying extreme pressure.
2. Tom’s Hardware Forum
- Tighten screws until they are moderately snug.
- Ensure the heatsink does not wiggle when gently tugged.
3. Overclock.net
- Hand-tighten first, then use a tool to snug the screws.
- A common rule: tighten screws, then give an additional quarter turn.
How Tight Should an AIO Liquid Cooler Be?
An AIO (All-in-One) liquid cooler should be snug but not overly tight. Secure the screws evenly using a crisscross pattern to ensure balanced pressure.
Avoid forcing the screws too much, as it can damage the CPU or motherboard. If the cooler feels stable and doesn’t wiggle, it’s tight enough for proper cooling.
How to Test If Your CPU Cooler Is Too Tight or Too Loose
To check if your CPU cooler is too tight or loose, gently wiggle it—if it moves, it’s too loose. If your motherboard bends or the PC won’t start, it’s too tight.
Also, monitor CPU temperatures; high temps could mean poor contact. Adjust the screws evenly for a firm but safe fit.
Overtightened CPU Cooler
If your CPU cooler is too tight, it can damage the CPU or bend the motherboard. This may cause overheating or system failures.
Always tighten screws evenly and stop when they feel snug. Too much pressure isn’t good—make sure the cooler is secure without forcing it too hard.
CPU Cooler Too Loose
A loose CPU cooler won’t properly contact the CPU, causing overheating. If you notice high temperatures or system crashes, check if the cooler moves when touched.
Tighten the screws evenly in a crisscross pattern until the cooler is firm, but don’t overdo it to avoid damage.
Peerless Assassin How Tight
The Peerless Assassin CPU cooler should be snug but not overly tight. Tighten the screws evenly using a diagonal pattern until the cooler is stable.
If it moves when touched, tighten it a bit more. Avoid too much force, damaging the motherboard or affecting cooling performance.
Can a Heavy CPU Cooler Damage Motherboard?
Yes, a heavy CPU cooler can strain the motherboard, especially if the PC is moved often. Over time, this can cause bending or damage.
To prevent issues, use a proper backplate for support and ensure the case is positioned upright to reduce unnecessary pressure on the board.
CPU Cooler Torque
Most CPU coolers don’t have a specific torque setting, but screws should be tightened until snug. Some manufacturers recommend around 20-30 in-lbs (inch-pounds) for safety.
Hand-tightening works well—ensuring even pressure for proper contact without excessive force that could damage the CPU or motherboard.
Uneven CPU Cooler
An uneven CPU cooler can cause overheating due to poor contact with the CPU. If temperatures are high or the thermal paste isn’t spreading evenly, loosen the screws and re-tighten them evenly in a diagonal pattern. Make sure all sides apply equal pressure for the best cooling performance.
How Tight Should AIO Screws Be?
AIO screws should be tight enough to hold the cooler firmly in place but not overly tight. Over-tightening can damage the pump or cause uneven pressure.
Use a crisscross pattern when tightening, ensuring even contact. If the cooler doesn’t move and temperatures are stable, it’s tight enough.
How “Hard” To Screw Cpu Cooler To Motherboard
Screw your CPU cooler firmly but not too hard. Tighten evenly in a crisscross pattern until snug. If you feel strong resistance, stop. Too much pressure can damage the motherboard. Just make sure the cooler is stable and doesn’t move.
Is It Fine To Overtight Ur Cpu Cooler Screws?
No, overtightening CPU cooler screws can cause problems. It may bend the motherboard, damage the CPU, or affect cooling performance. Tighten until snug, but don’t force it. If the cooler stays in place without excessive pressure, it’s tight enough.
Is It Bad To Put Your CPU Cooler On To Tight?
Yes, tightening your CPU cooler too tight can damage the CPU, motherboard, or mounting bracket. It may also cause uneven pressure, leading to poor heat transfer. To prevent issues, tighten evenly until secure, but avoid using too much force.
Hyper 212 – How Tight Is Too Tight?
For the Hyper 212, tighten screws evenly until snug. If you notice the motherboard bending or hear cracking sounds, it’s too tight. A secure fit without excessive force is best. If the cooler stays in place without wobbling, it’s tight enough.
FAQs
1. How Hard Should I Tighten CPU Cooler?
Tighten until snug but not too hard. Even pressure is key—avoid overtightening to prevent damage to the CPU or motherboard.
2. How Do I Know If My CPU Cooler Is Seated Properly?
Check if it’s stable and evenly placed. Monitor temperatures; high temps may mean poor contact, requiring slight adjustments.
3. Is My CPU Cooler Supposed to Be Loose?
No, it should be firmly secured but not overly tight. If it moves when touched, tighten it slightly for better stability.
4. Does CPU Fan Need to Be Tight?
Yes, it should be secure but not forced. A loose fan may cause vibrations while over-tightening can damage components.
5. Can You Over-Tighten CPU?
Yes, over-tightening can bend the motherboard or damage the CPU. Tighten evenly until secure, but don’t use excessive force.
6. Is It Possible to Over-Tighten the Stock Cooler?
Yes, stock coolers can be over-tightened, leading to motherboard warping. Secure it evenly, stopping once it’s snug and stable.
7. How Tight Should a Heatsink Be Mounted to CPU?
It should be snug but not forced. Evenly tighten screws until the heatsink is stable without putting too much pressure.
8. How Tight Should CPU Cooler with Springs Be?
Spring-loaded screws prevent over-tightening. Tighten until firm, letting the springs apply even pressure without forcing them too much.
9. How Tight Should the Screws Be When Installing Heatsink?
Tighten screws evenly in a crisscross pattern until snug. Avoid excessive force to prevent motherboard damage or poor heat transfer.
10. Can a Super Tight CPU Cooler Mount Damage a Motherboard?
Yes, over-tightening can bend or crack the motherboard. Secure it firmly but gently, ensuring even pressure for safe installation.
Conclusion
Proper CPU cooler installation is crucial for performance and longevity. Tighten screws evenly in a crisscross pattern until snug—avoid over-tightening to prevent damage. Ensuring proper contact without excessive force guarantees efficient cooling, stable temperatures, and long-lasting hardware for optimal system performance.